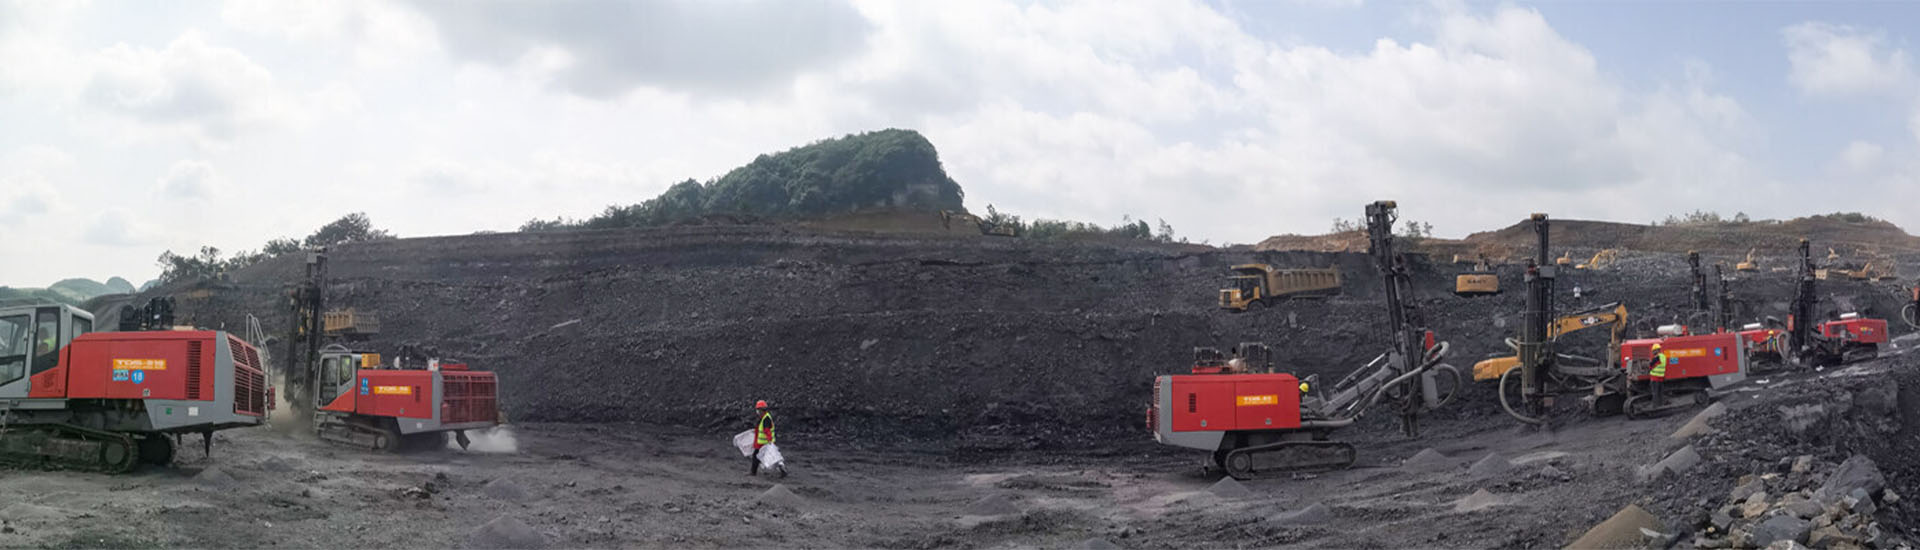
Core recovery sits at the heart of any serious mineral exploration or geotechnical program. When you’re pulling samples that need to tell the true story of what’s underground, even small losses matter. In tough ground—fractured zones, soft unconsolidated layers, or extremely hard rock—a poorly matched rig can drop recovery from near 100% down to 60% or worse. The right surface core drilling rig changes that picture. It gives you steady control, enough power where it counts, and features that protect the core from the moment it enters the barrel until it sits safely in the box.
This post breaks down the real-world geological headaches and shows how specific rig capabilities make a measurable difference in sample quality and recovery percentages. We’ve seen crews go from frustrating runs to consistent high recovery simply by paying attention to pullback force, rotation control, and feed smoothness.
The Geological Challenges That Kill Core Recovery
Different formations punish the core in their own ways. Understanding these helps explain why one rig setup works while another struggles.
Fractured and Broken Rock
Fractured ground is probably the most common recovery killer. Cracks and joints cause the core to jam, break apart, or wash away during drilling. In heavily jointed zones, recovery often falls below 70% without the right approach. Crews in porphyry copper projects or faulted gold belts know this pain well—pieces grind against each other inside the barrel, turning solid core into rubble.
Soft or Unconsolidated Formations
Soft layers like clay, sand, or weathered overburden behave differently. The core can swell, squeeze, or simply wash out if fluid pressure is too high or feed isn’t gentle. Recovery here might hover around 80–85% even with care. One exploration team drilling through saprolite in a tropical region lost chunks because the rig’s feed system jerked instead of gliding smoothly.
Hard and Abrasive Rock
Extremely hard formations—think quartzite or fresh basalt—demand high torque and consistent RPM to cut cleanly without overheating the bit or vibrating the core to pieces. Poor rotation control leads to polishing instead of cutting, and recovery suffers from grinding damage. In these cases, rates can dip under 75% if the rig lacks precise speed adjustment.
Industry experience shows that recovery rates typically range from 70–95% depending on formation and technique. The gap between good and great often comes down to how well the rig matches the ground.
Critical Rig Features That Boost Recovery
A capable core drilling machine isn’t just about depth. It’s about control at the bit face and protection during lifting.
Pullback and Hoisting Capacity
Strong, steady pullback matters most when you’re in fractured zones. Higher pullback force (think several tons) lets you extract the core barrel without excessive vibration or sticking. Sudden jerks snap delicate core; smooth hoisting preserves it. In practice, rigs with balanced hydraulic pullback systems see 10–20% better recovery in jointed rock compared to underpowered setups.
Rotational Speed Range and Control
Variable RPM is non-negotiable. Soft ground needs lower speeds (300–600 RPM) to avoid washing; hard rock pushes higher (800–1,500 RPM) for efficient cutting. Precise control prevents over-speeding, which grinds instead of cuts. We’ve watched crews dial in the sweet spot and jump from 68% to 92% recovery in the same hole simply by fine-tuning rotation.
Feed Force and Rate Control
Smooth, proportional feed prevents core shearing. Too aggressive, and you core jam or fracture; too light, and progress stalls. Advanced hydraulic feed systems with sensitive pressure adjustment shine here. In soft formations, gentle constant pressure keeps recovery above 85% while faster settings work in competent rock.
Here’s a quick look at how these features tie to formation challenges:
| Formation Type | Main Recovery Risk | Key Rig Feature Needed | Typical Recovery Improvement |
| Fractured / Jointed | Breaking, grinding inside barrel | High pullback + vibration damping | +15–25% |
| Soft / Unconsolidated | Washing, swelling, squeezing | Gentle feed control + low RPM range | +10–20% |
| Hard / Abrasive | Polishing, overheating, vibration | Wide RPM range + high torque | +10–18% |
Additional Helpers: Barrel Compatibility and Fluid Management
The rig should handle double-tube or triple-tube barrels easily—essential for fractured or soft ground. Better inner-tube protection means higher recovery. Fluid pumps that deliver steady, low-pressure flow (without surging) also reduce core wash. Some rigs include polymer additives in the circuit to coat the core and keep it intact longer.
Real-World Examples from the Field
A gold exploration crew in a faulted greenstone belt switched rigs mid-program. The old machine struggled with pullback in fractured zones—recovery averaged 62%. The new rig, with stronger hoisting and finer feed adjustment, pushed recovery to 89% in the same geology. They saved weeks of re-drilling and got far better assay data.
In a coal exploration project through weathered overburden, gentle rotation and feed control turned 78% recovery into 94%. The difference? The rig operator could drop RPM and feed rate precisely without losing stability.
These aren’t outliers. Consistent high recovery comes from matching rig specs to ground conditions, not just pushing deeper.
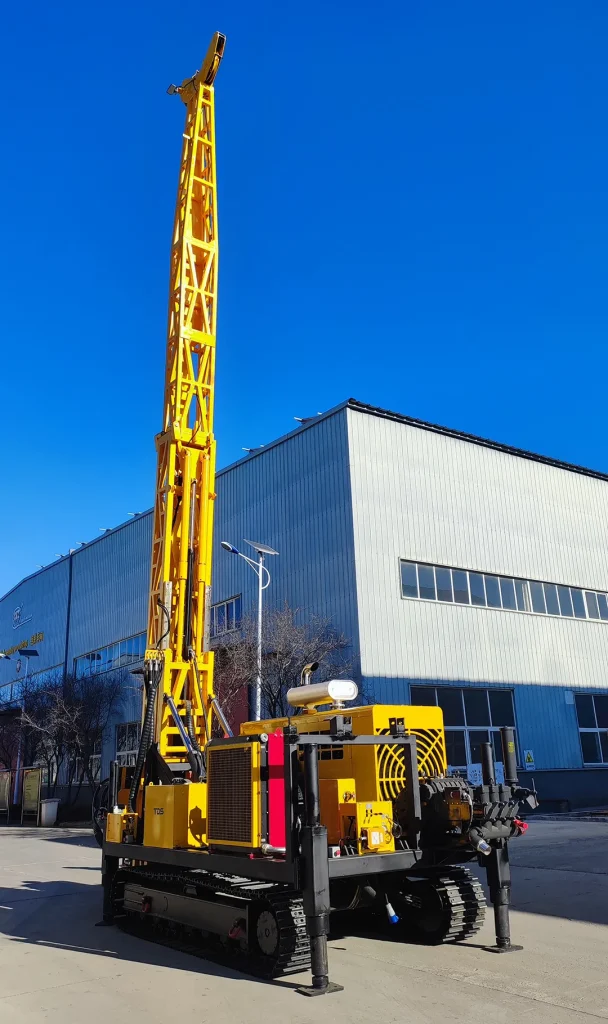
Why TDS Stands Out as Your Go-To Supplier
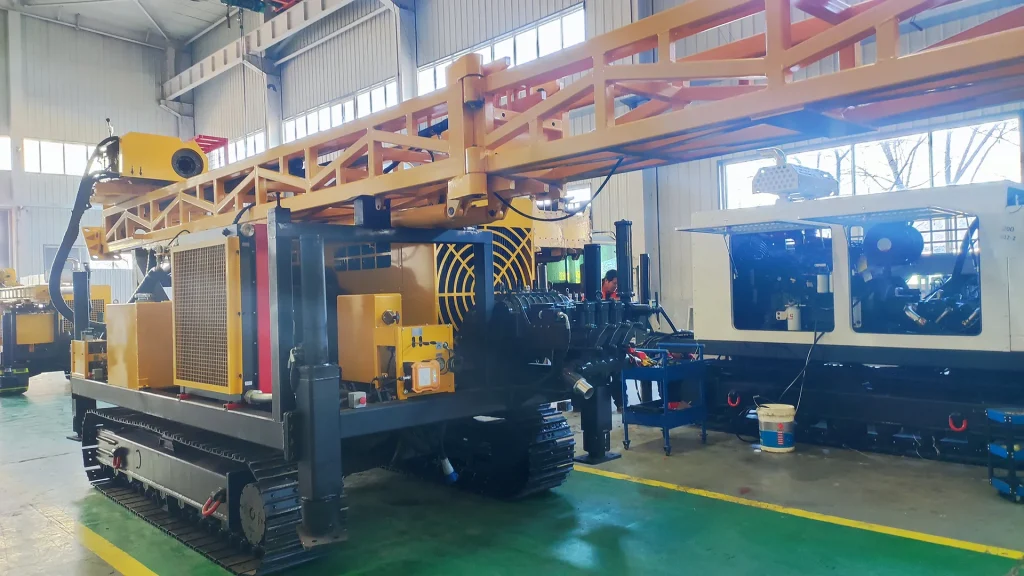
When you’re hunting for equipment that actually delivers in tough formations, TDS (The Drill Store) has built a strong name as a supplier of high-performance, reliable exploration and blasthole drill rigs. They focus on real-world needs in mining, quarrying, and geotechnical work, offering solid surface coring solutions alongside other drilling tools. With emphasis on quality, durability, and customer support, TDS helps exploration teams get the core quality they need without constant headaches. Check their lineup for rigs designed to handle demanding conditions.Ready to upgrade your drilling capabilities with equipment that delivers? Contact TDS for a personalized consultation and let their experts help you select the rig that minimizes headaches and maximizes core recovery.
Conclusion
Getting maximum core recovery in rough terrain boils down to one thing: the right diamond core drilling rig paired with smart operation. Pullback strength, precise rotation control, and smooth feed make the biggest difference when the ground fights back. Pick a rig that gives you those tools, and you’ll see higher recovery rates, better sample quality, and more reliable data for your project. The payoff shows up in the core boxes—and in the final resource model.
FAQs
What makes a core drilling machine good for fractured formations?
A strong pullback system and vibration control help most. They let you lift the core barrel smoothly without snapping pieces. Combined with triple-tube barrels, these features often push recovery from the low 70s up into the high 80s or better in jointed rock.
How does rotational speed affect core recovery in different terrains?
Speed needs to match the rock. Lower RPM (around 400–700) prevents washing in soft ground, while higher speeds (900+) cut hard rock cleanly without polishing. Rigs with wide, adjustable RPM ranges give crews the flexibility to maintain 85–95% recovery across changing formations.
Why is feed control so important for core recovery?
Feed rate and pressure need to stay steady and gentle, especially in soft or fractured zones. Jerky or excessive force shears the core or causes jamming. Precise hydraulic feed systems reduce damage and help keep recovery consistently above 80% where weaker rigs drop off.
Can the right surface core drilling rig really improve recovery in hard rock?
Yes. High torque at consistent RPM, plus good fluid management, cuts cleanly instead of grinding. Crews drilling abrasive formations often see 10–20% better recovery with rigs that hold steady speed and avoid overheating the bit face.
What recovery rate should I expect from a quality diamond core drilling rig?
In good conditions you can hit 90–98%. In fractured or soft ground, expect 75–92% with the right setup. The best rigs close that gap by giving operators fine control over pull, rotation, and feed—turning challenging holes into reliable ones.